
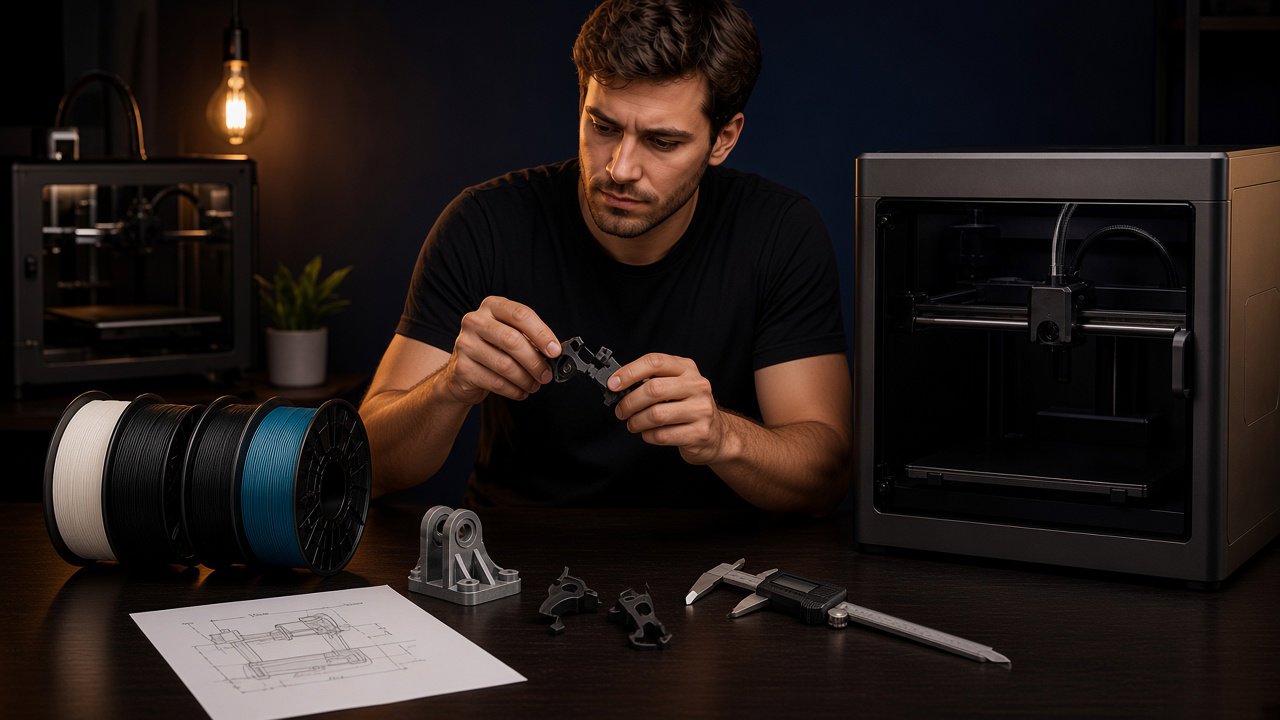
Most “I need 3D printing” stories in Egypt are not futuristic products. They are quieter: a dryer knob snapped, a fridge clip missing, a motorcycle bracket cracked, a phone mount that no longer exists in shops.
This is a practical path from a broken object to a printable replacement — whether you CAD it yourself or hire a designer/maker on Souq3D.
First question: should you print it at all?
3D printing is excellent for many plastics. It is a bad idea when failure hurts people or expensive equipment. Pause if the part:
- Carries human weight (chair legs, climbing gear, child seats).
- Seals pressure, gas, or fuel.
- Sits near high continuous heat beyond what PETG/ABS can handle.
- Is a regulated medical or automotive safety component.
For those cases, buy OEM, machine metal, or talk to a specialist. For household clips, jigs, covers, and many brackets — printing is often the smartest fix.
Collect evidence before you open CAD
- Photos — all sides, the break surface, and how it sits in the assembly.
- Critical dimensions — hole diameters, center-to-center distances, thickness, overall length/width. A caliper beats a ruler.
- How it fails — snap from bending? screw pulled out? UV cracked? That tells you material and orientation.
- Mating parts — the clip that enters the slot matters as much as the clip itself.
If you cannot measure a hole accurately, print a small test coupon with stepped diameters before committing the full part.
Material: match the job, not the hype
- PLA / PLA+ — fine for indoor decorative covers, light clips, prototypes. Avoid hot cars and sunny balconies.
- PETG — better toughness and heat for many household brackets. Watch stringing and sticky supports.
- ABS / ASA — higher heat and outdoor UV (ASA). Needs enclosure experience; often worth ordering from a maker.
- TPU — living hinges, bumpers, soft grips. Harder to print; specify hardness (e.g. 95A) in the request.
If the original part feels rubbery, do not replace it with brittle PLA “because it’s cheap.”
Clearance and fit — the silent killers
FDM holes often print slightly undersized. Practical habits:
- Add 0.2–0.4 mm diameter clearance for M3–M5 screws depending on printer and orientation.
- Prefer vertical holes (axis along Z) when accuracy matters.
- Design snap-fits with room to flex — then thicken after a test print.
- Never trust the first fit on a unique spare; budget one iteration.
Tell your maker: “must fit this shaft / this slot” and include the measured size. “Looks like the photo” is not a tolerance.
Orientation is strength
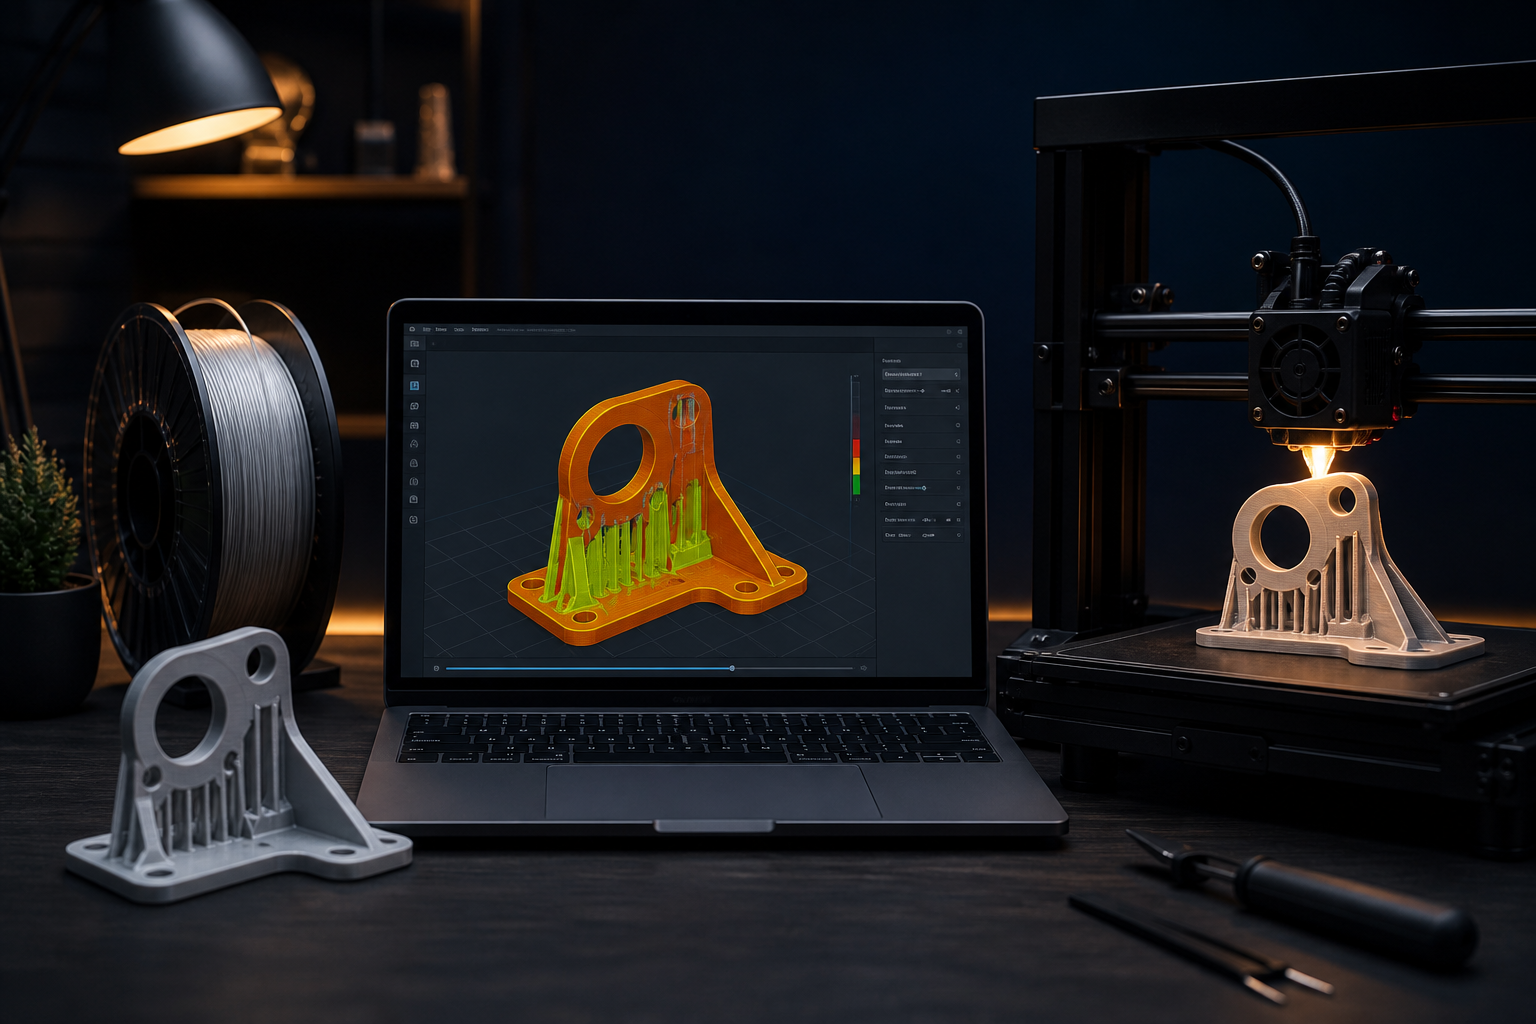
Layer lines are weak planes. Print so loads do not peel layers apart:
- A hook that hangs weight should have layers stacked along the arm, not across the bend.
- Screw bosses need enough walls and solid layers under the head.
- Avoid putting the fracture plane of the old part exactly on a new layer seam.
If you only send an STL with no notes, a maker may optimize for speed or looks. Write: functional — prioritize strength orientation.
Three ways to get the model
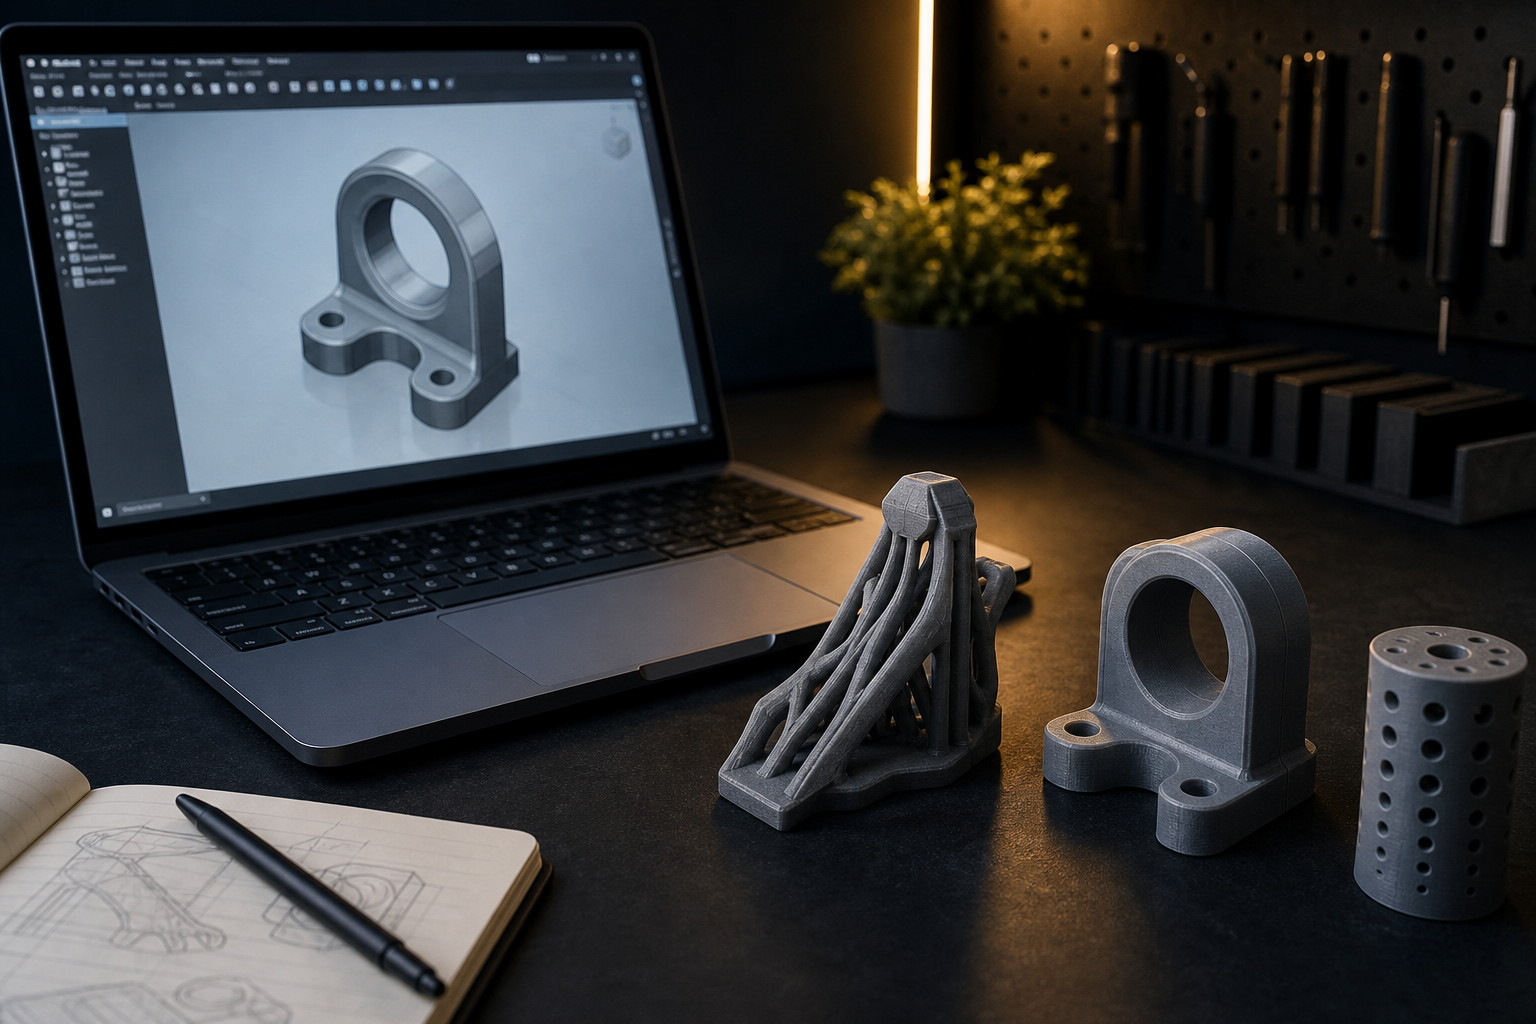
- Remodel from measurements — best for simple brackets and clips. Fusion, FreeCAD, or Onshape are enough.
- Hybrid — model the interface precisely; approximate the outer shape.
- Hire a designer on Souq3D — send photos + dims + “what must not change.” Faster when geometry is organic or you lack CAD time.
Scanning helps for complex shapes, but cleaned measurements still win for holes and flat mating faces.
What to put in a Souq3D request
- Photos of the broken part and the installation place.
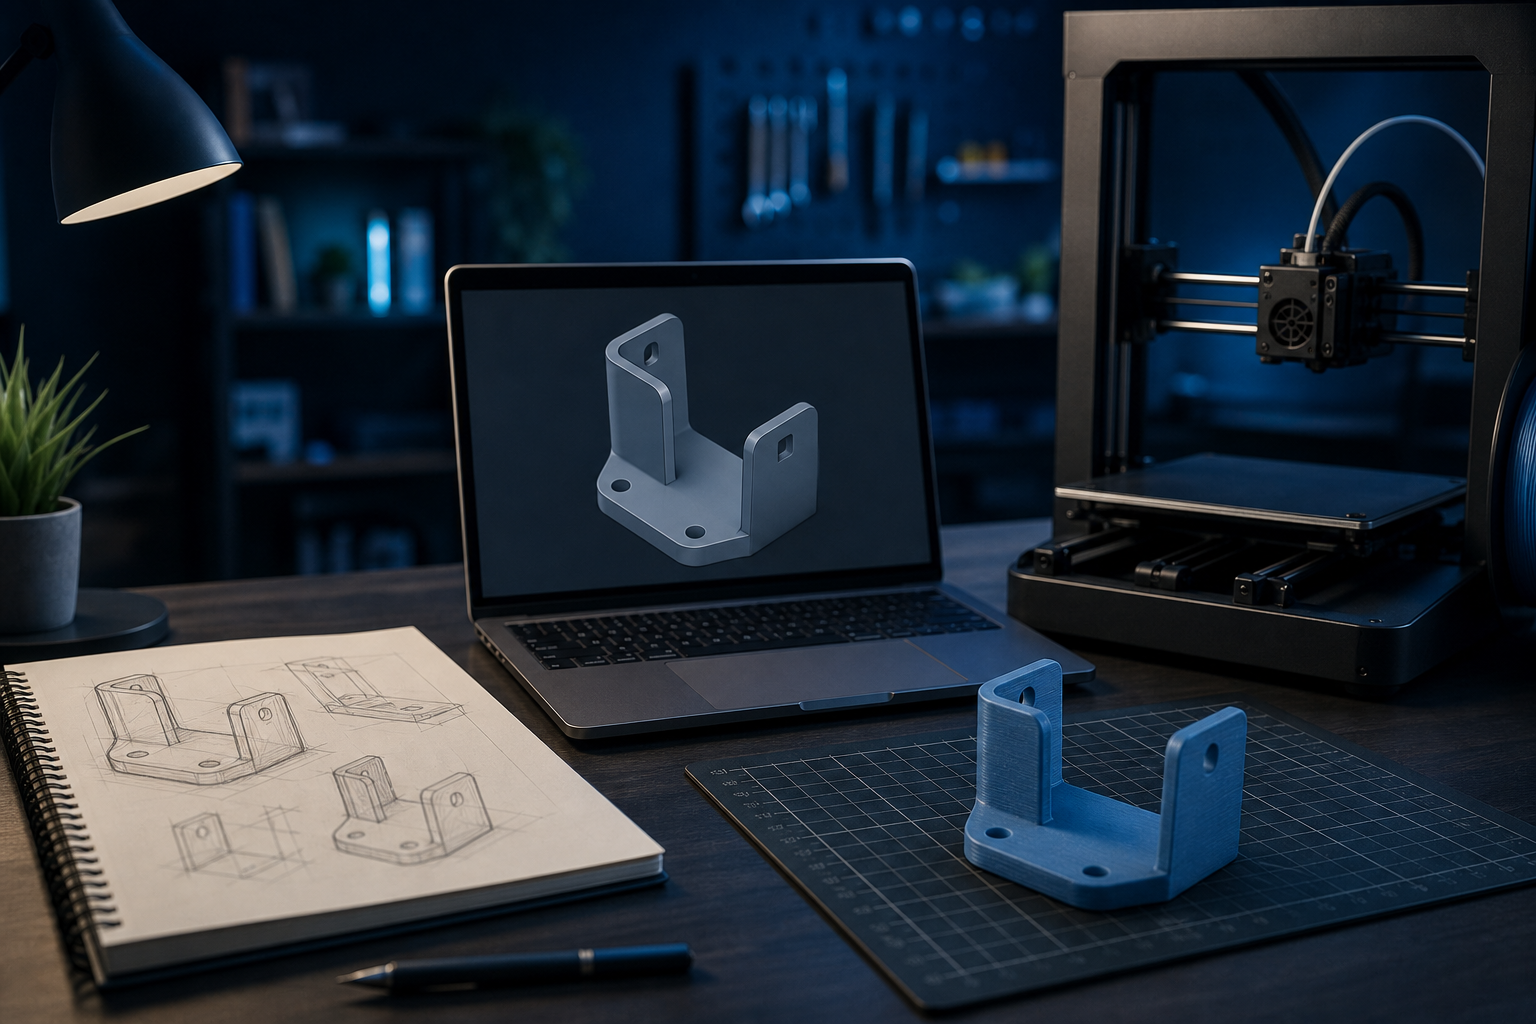
- All critical measurements (mark them on a sketch if needed).
- Material preference or environment (heat, outdoor, flex).
- Quantity (one spare + one backup is cheap insurance).
- Whether you already have an STL or need design + print.
Choose Design, Print, or Both on the order flow so the right providers answer.
Test, then trust
Print a short version of a clip arm, or a washer with the hole size, before a long job. For paid makers, ask for a dimensional photo or a cheap first article when the fit is expensive to get wrong.
After it works: keep the STL labeled with date and machine/material notes. Next break is a five-minute reorder, not a new investigation.
Start the repair
Have photos and sizes ready? Post a request on Souq3D — get design help, a print quote, or both from makers who already print functional parts in Egypt.
Comments (0)
No comments yet. Be the first to share your thoughts.